Sunday, October 2, 2011

Shelby Twp. MI composite deck

It has been a crazy summer and we have had the busiest year of our company. I again have to apologize for not keeping up with the blog !
 I hope to keep up with this now that summer is gone and the Michigan deck builders season is quickly coming to a close.

Here is our second featured project of 2011

 This is a tear down of a 15-20 year old cedar deck and replacing it with a Timber Tech evolutions cap composite deck. We worked with the homeowner for about eight months getting all the design & pricing options worked out. They were also waiting for a wedding party they were have in late spring, and they wanted a brand new deck ready for their party.

Here is the before picture and the framing design layout. Notice the existing retaining we had to build around !
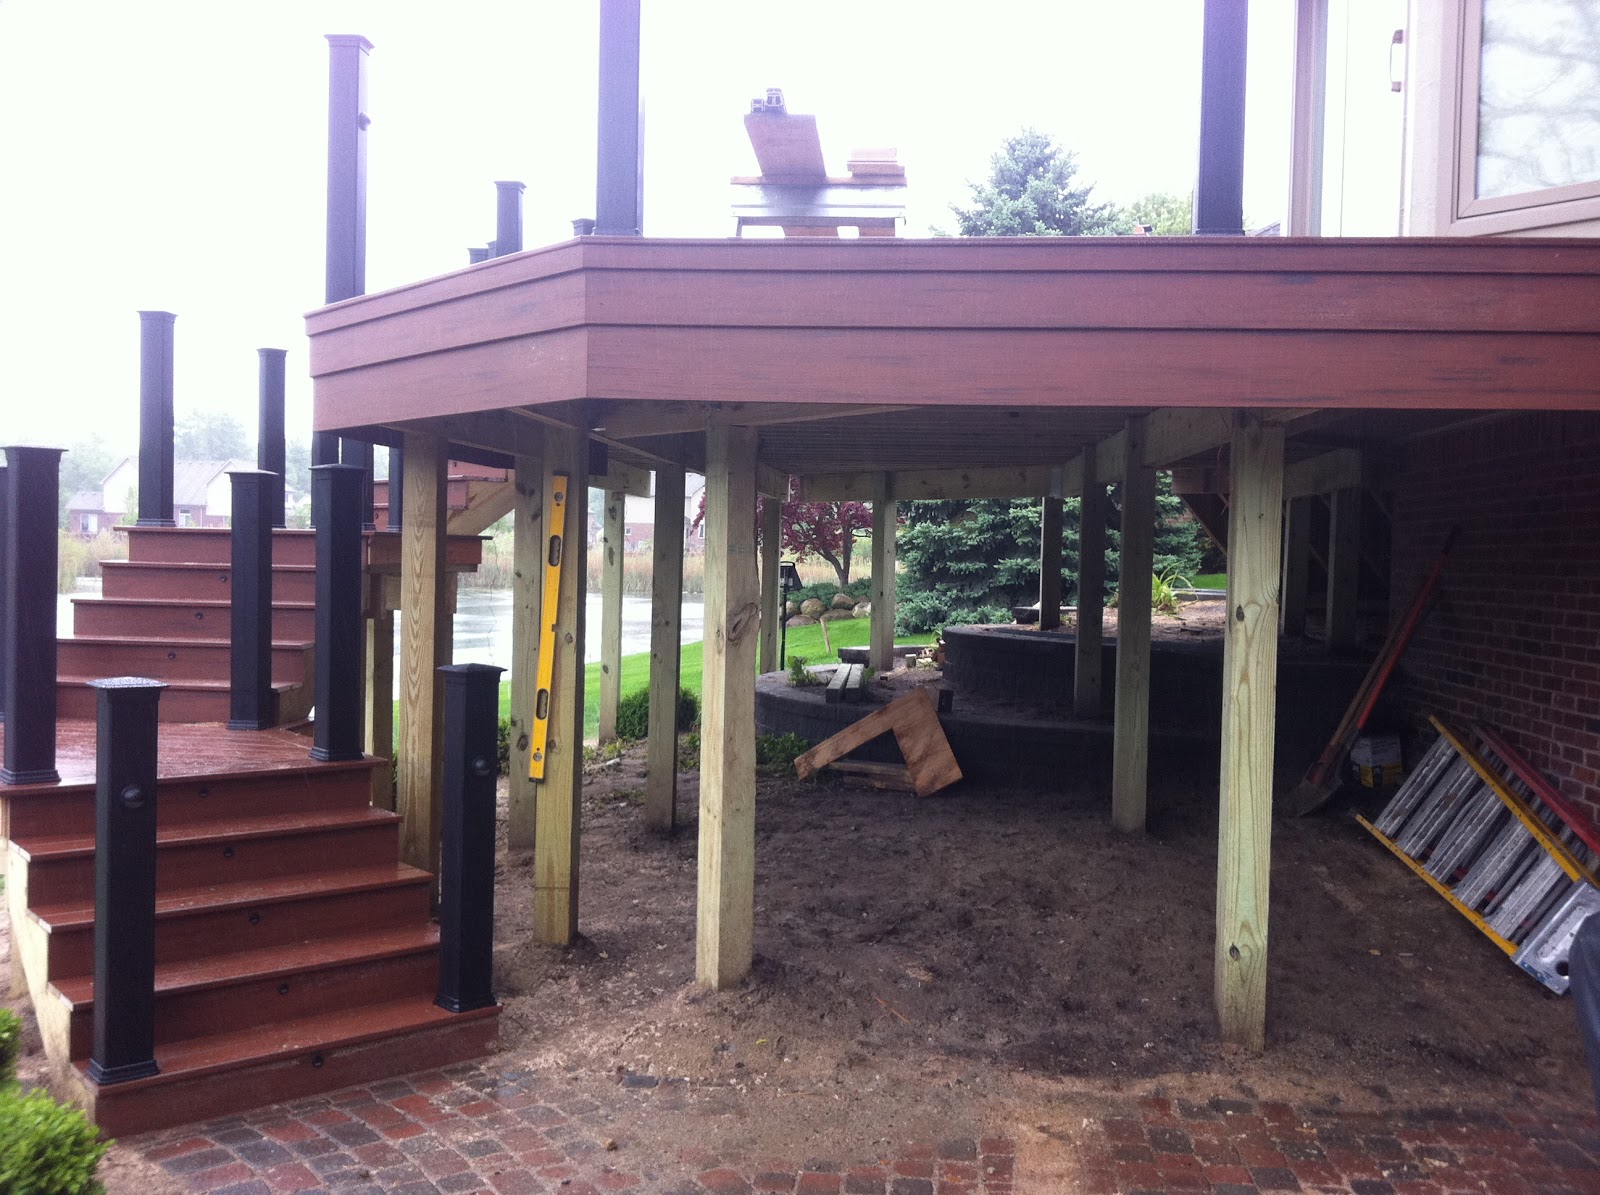
Once the old deck is removed the process begins with digging the posthole footings again we had to go all around the existing retaining walls

The other big challenge on this project was the stairway on east side of the deck that had two landing that wrapped around the upper level. Layout on the landing/strings have to be with 3/8s of an inch over the complete run of the stairs. We also had to end the stair right at the paver patio below.


Here is picture of the decking layout, with the double center seam board, double picture frame border, and the decking running on alternate 45 degree angles. The decking Timber Tech evolutions in the rosewood color
 Next we are onto the railings & fascia. The railing is black Timber Tech custom Radiance rail with deckorators estate balusters with collar centerpieces on every other baluster. In the pictures below we have just finished installing the newel posts, and we have just started our first railing section.

Some other features on this deck are the triple stack fascia detail and the 40 Trex low voltage lights.

Here is a few final pictures


Friday, July 15, 2011

Romeo MI composite deck

It has been to long since we have updated our blog .. I have to apologize !
 It has been hard to find time we have been busy building decks.

Today we are going to review a project we started last November.

We framed the deck last year and the job was put on hold until early this spring when we finished up. We were originally hired to only design the deck. Then we were hired to frame the deck, and the customer was going to finish the deck. After further considering the scope of the project we were then hired to finish the deck this March.

Here is the design that was revised some this spring.
The deck was designed to be a temporary access to the above ground pool which will eventually be removed. So the deck will have to look good when the pool is removed.
The design also has a unique center section with a dodecogan triple picture frame border. 
Here we had to build a jig out of wood decking to get the proper layout of the dodecogan (12 sided octagon) This was a challenge to keep everything square and all the mitres tight ! Originally the deck was only going to have a double picture frame border, so we had to add more blocking.

The decking is the new Timber Tech Evolutions rosewood (cap composite) with Timber Tech XLM sandridge borders, fascia, and railings. Here we are installing the decking and borders.
We tried tying in the colors of the decking, fascia, and railings with trim and brick colors of the house.

From the outside, the deck looks all the sandridge color like the color of the house trim and once you are on the deck surface we tried to pick up the brick color with the rosewood decking.
A picture of the triple center seam board and triple border dodecogan.


The railings are Timber Tech Radiance rail in sandridge with bronze Deckorators balusters. The two rail sections over the pool are removable to access the pool.


Here are few more final pictures

Sunday, May 15, 2011

Synthetic deck and pergola from last year in Macomb Twp

Hello ..

 Here is a review of a deck we built at the end of last year, and we had to finish the adjoining stamped concrete patio this spring.

The project is a basic square 12x16 deck at the homeowners request.
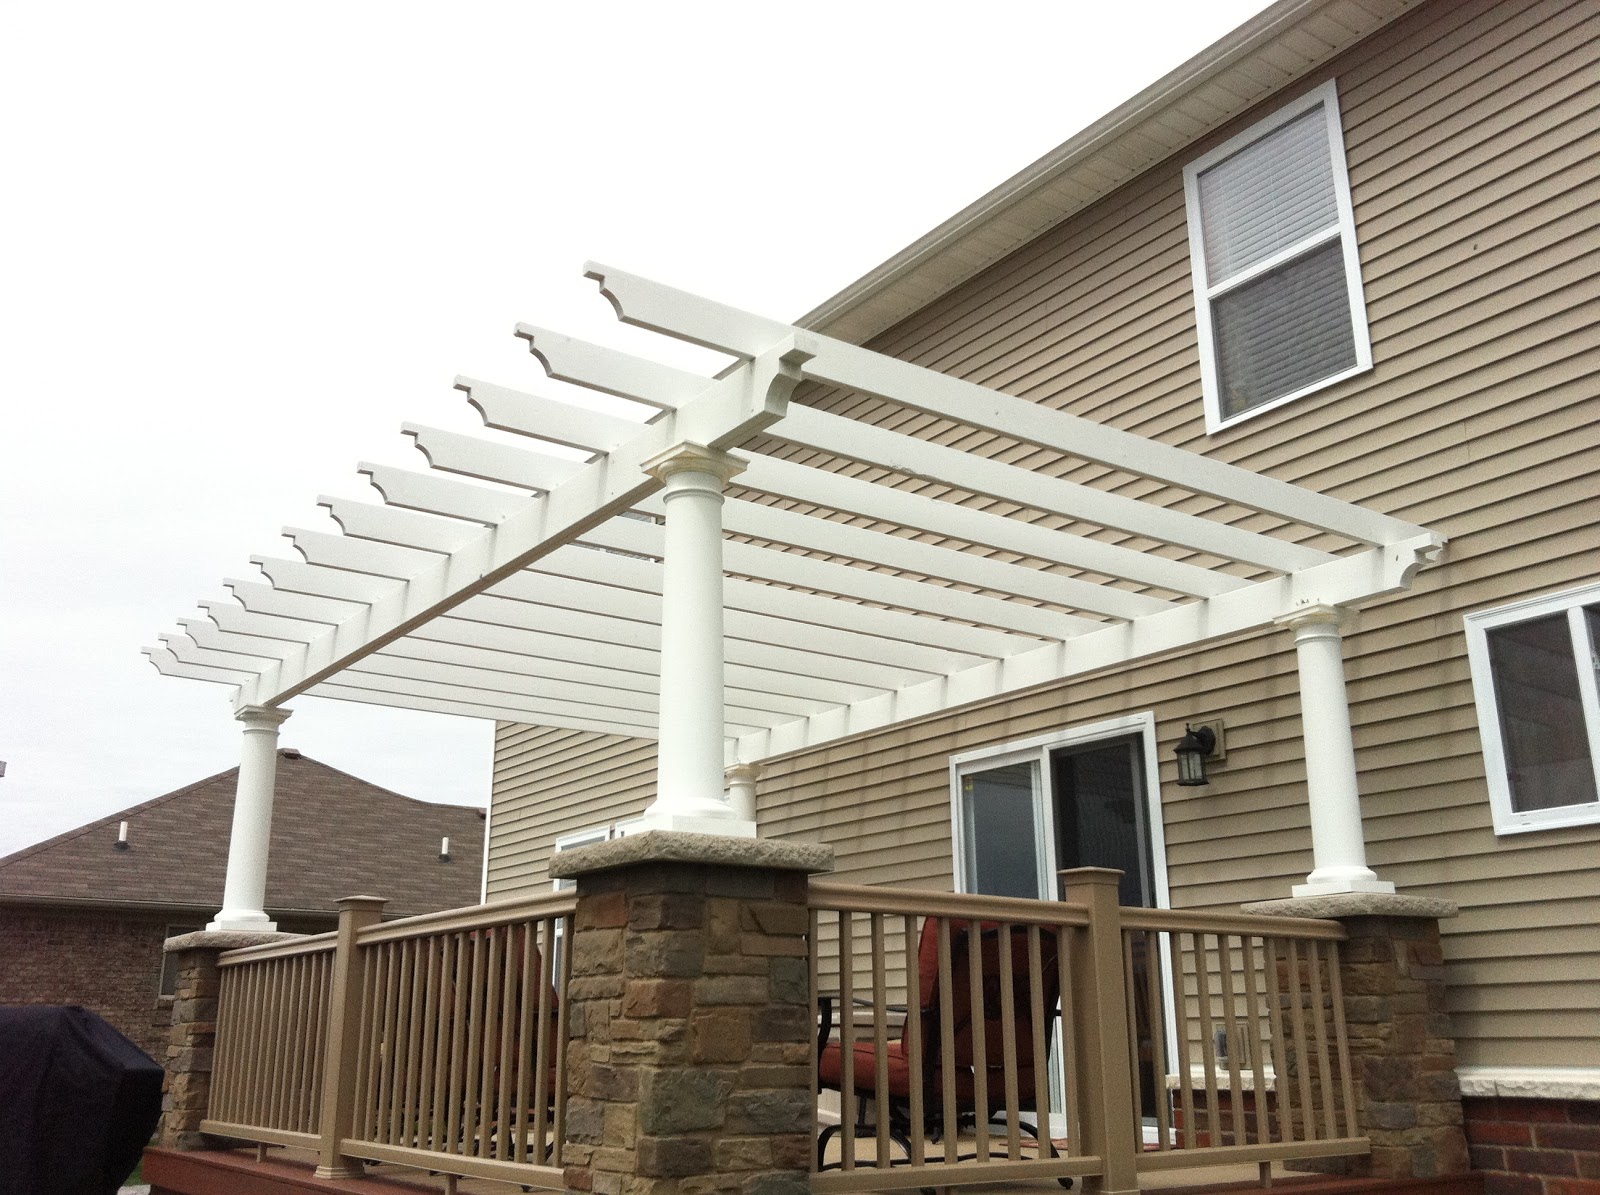
They choose synthetic decking and railings with a solid white stained cedar pergola.

Here is the design

Timber Tech XLM sandridge deck, with Fiberon Horizons Rosewood double picture frame. Here we are just about to finish the sandridge decking. We have just slide the Bellastone columns over the 4x6 pergola posts and blocking for the rails.


The Bellastone columns are made from a very thick plastic that is hollow inside so we cut out the bottoms so we could fit the blocking around the posts for the railing attachment through the faux stone column bases. The treated 4x6 pergola posts are blocked and thru bolted into the frame of the deck. Once we installed the columns bases we installed the 8" round poly columns that sit on top of the Bellastone bases.
Here we have installed the cedar pergola parts that we pre-stained and cut.


Now we move onto the the railings, Timber Tech Radiance railing sandridge.
A few more finsh shots


Michigan deck builders
Thank you for reading !

Tuesday, March 1, 2011

Form equals function for deck designing

Hello again,

 Today we are going to look at a different topic ... Deck design and some problems areas to avoid

First lets review the basics of deck designing.

Usually form follows function for designing. When designing and planing, start by how you plan on using your deck. Most decks you have three main uses.

1) Entertaining:  A space where you can be relaxing in a comfortable chair or patio set, a space to get some sun, or a place for a small party,  or for the kids to get some fresh air and play safely within a watchful eye.

2) Grilling: a space for a grill

3)  Egress: space to transition from the house to the deck and from the deck into the backyard.

So think of each of these spaces within your deck design
The challenge becomes fitting them into a designated space and or budget you have for your deck. Finally you should add a ornate quality to your deck by adding your unique flair or style into the design.

When we go out to visit homeowners to give an estimate on building and designing a deck, I first try to listen to the customer closely to find out exactly how they are planning to use their deck space and what their expectation is of their dream deck. 

Here are some of the areas to avoid and few thing to do a little homework on.

1) Thorough pre-planing:  We see this all the time, homeowner having no idea of what style they are looking for and how a deck will become part of the architecture of the home/backyard landscape.  Take some time out and find a few picture of decks you like and try to incorporate some the things you like into your deck.


2)  What materials to use:
There are so many neat products available in deck construction, and many of the different products work really good together and add contrast to a backyard landscape. Take a look at Faux columns, Low voltage lighting, synthetic decking... etc. 


3) Designing: Add some ornate flair to a deck design with a picture frame border, inlay, combining different colors, arbors, skirting and lattice, railing combinations, and different levels.


4) Site conditions: Each house and site plot is unique and the deck should flow into the landscape and the look/color of the house.


Thank you for reading !

Monday, February 28, 2011

A couple of synthetic porches

Hi again,

Well we have had a pretty good winter with staying busy especially considering the economy here in Michigan. In this post I am going to review a couple of porch jobs we did on two different manufactured homes.
This first one we did back in the summer, and we used Timber Tech XLM sandridge.

Here is the design a simple 4x6 porch with one column and a 4x4 platform and steps.

The old porch was 3/4 plywood with outdoor carpet, and a square 4x4 column with steps to grade. The porch rotted out and once we tore all that off, we got started on installing the decking.

Here in the picture to the left you can see the vertical skirting style we like to use with deck boards tucked behind the tiered fascia, also notice how the fascia is under the picture frame border which acts as a drip edge for the deck, so water and debris will not be trapped in the fascia/rim joist gap.


Here to the right again you can see our preferred way of doing a solid skirting around a deck to enclose the under side of a deck.

Also this is our standard fascia detail on all of our composite and PVC decks, a two tiered fascia detail.


Here we are finishing up installing the Timber Tech Radiance rails on the porch. We also ran a deck board across the bottom of the skirting to follow the slope of the grade.
Here is our second similar porch that we just actually finished up today, but I thought both of the project would fit good together in this blog post because of how similar they are and how they show a verticial skirting detail.

On this porch we tore off Trex accents because of a carport that fell on the deck and damaged the deck. No one locally stocked the Trex Accents so we went with Timber Tech Reliaboard.

The old deck was built by a Trex pro gold contractor and I was not to crazy about their work, but then again it is so easy to pick apart someone else work so I should probably focus on what I can learn.

Here is the before picture
Notice how they ran the skirting horizontally and they just stacked the fascia down to make the skirting. The fascia is even with the decking so the water and debris build up in the fascia seam.
I have seen this before by homeowners, but by a deck specialist I am surprised. It is never a good idea to fasten deck boards with brad nails and I doubt that it is approved by the manufacture, so you can wave good bye to any warranty. It is always best to stick to the manufactures recommended installation instructions on synthetic products.


So here we have finished the demo of the Trex and we just installed the Timber Tech Reliaboard decking. I was impressed with the Reliaboard it is a better product than I thought it to be, it held up pretty well to abuse it took to build the deck. I have to say they have improved on the product.


Here we just installed the vertical skirting with the two tiered fascia detail. Notice again it is now under the decking so the facia/rim joist seam is covered and the picture frame border acts as a drip edge. Also I much prefer the vertical skirting over the horizontal.

Here we just finish installing the Timber Tech builders railing with white deckorators balusters


Thanks for reading