Part two: How to build a low to the ground deck.
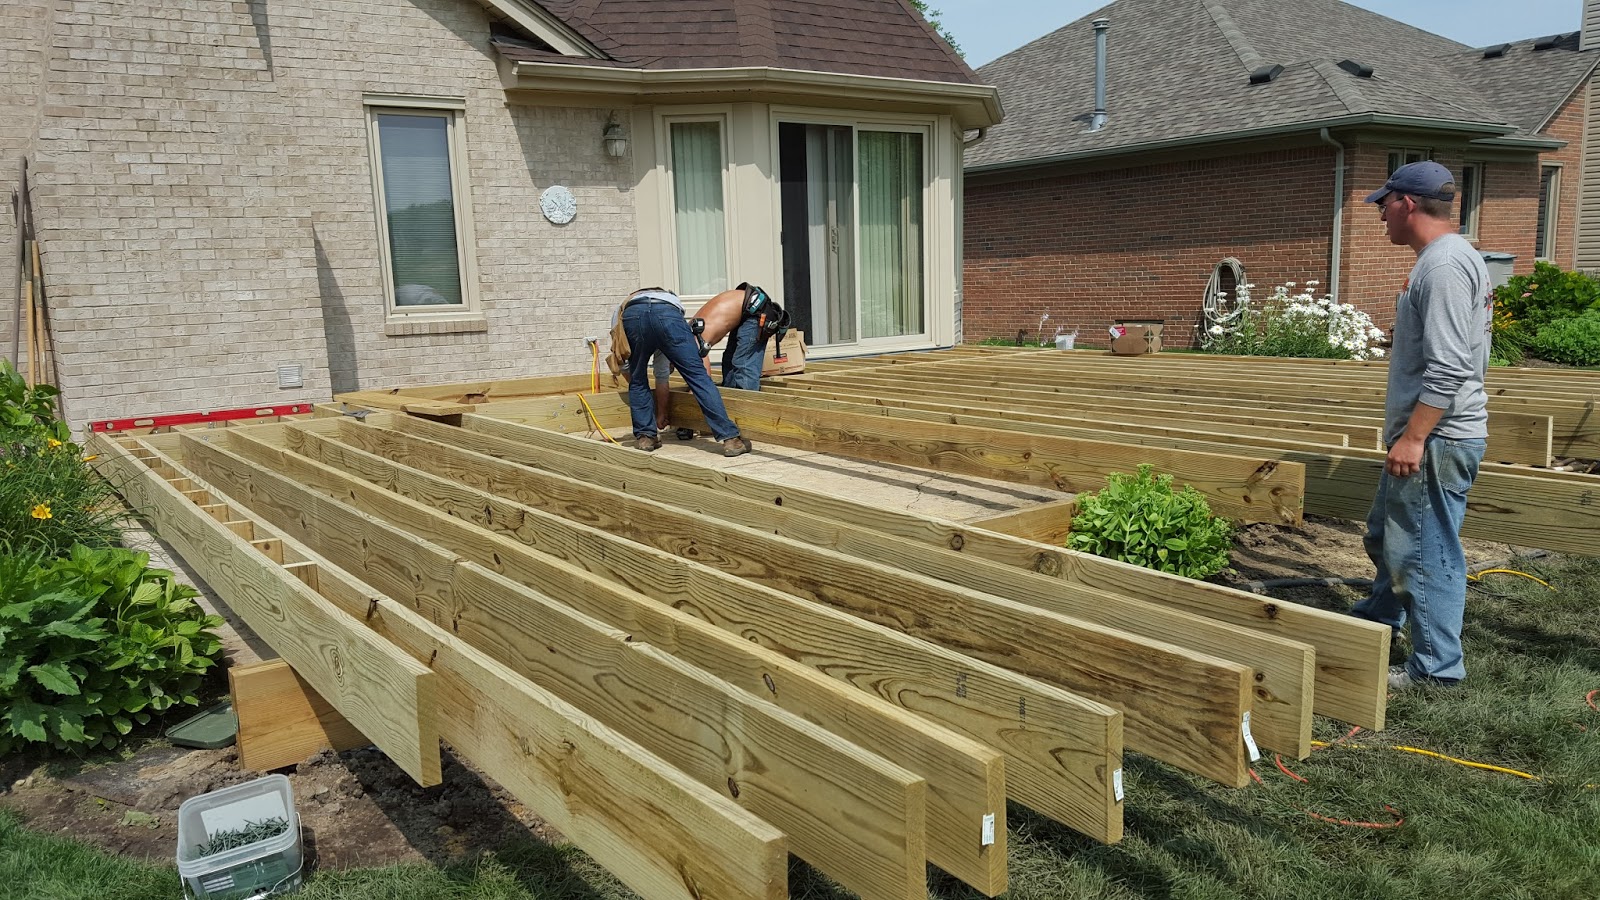
So we are working on a low to the ground level deck project in Macomb Township MI. Where the clients had a failed stamped concrete patio that we are building a deck over.
Let finish up the framing details. Here is the framing plan see below. There was a small modification to the deck plan during construction where we cut the corners on the deck. The homeowner wanted the corners cut but the existed concrete patio only allowed 1'6" cut corner. Because we had the room enough without having to remove anymore concrete.

Another point with framing of this project is the location of the beam closest to the house. On a low deck like this it is a challenge if the house has brick we cannot attached to the house. Normally in a free standing deck design you would have the inside beam/posts a couple of feet of the house, but here if we do it that close to house the posts would be in the 5' basement back-fill zone. Where the post hole footing have to go down to virgin soil and about as deep as the basement footing height. So on this deck the four posts would be 8' - 9' deep.
 So we had a an engineer design a typical ledger connection through a brick veneer on short spans of 6' or less to avoid this type of scenario as in this project. The one post by the fireplace we had to do extra deep because we cannot attached a ledger where there is a fireplace.
 Basically we have to drill 1 1/2" holes through the brick so the 3/4" lag bolts don't bear on the brick and crack the brick from the deck load. Than we install 3/4" x 8" galvanized lag bolts into the house rim joist to support the short spanned ledger.

Here are some final pictures of this deck project.

 Here in the picture above you see why we had the 12" on center joist spacing, because the Timber Tech Legacy decking is running on a 45 degree angle the framing has to be 12" on center. Also you can see why we had all the blocking installed around the perimeter and up the middle of the deck. For the picture frame border and center seam board.
We usually always picture frame our decks so the fascia cladding is protected. If you looking at the pictures from part one you can see why it costs more or is a big up grade from the way most guys build a deck without the picture frame border over the deck rim and fascia cladding.

Above we are working on building a built in bench, which is kind of built like a mini deck on rail posts.


Thanks for reading our blog. I hope we inspired you with a new outdoor living project !